Managing Groups
Go to Groups to review all Groups.
Alongside General Groups, there may be other sub-types of Groups – these merely serve to organize Groups by different purposes, but the actual Groups will handle the same.
In summary, the following actions are available; please see further below for more information on how to create and populate Groups:
- For a summary of Groups, use the column headers in each subsection to resort the list, and/or the search and Add Filter functions in the top-right corner to narrow down results.
- To view and modify a Group, Click its title to open the Group detail view:
- General: Overview including title and Access level of the Group itself (default is Company).
- Products: Add, review and manage Products in the Group (see below for details). As in the Groups list view, search, filters and sorting are available. Action > Change Group Access also lets you change the Group access to an already included Product. If the Product’s assigned Assets are included, a small Assets icon will be displayed in the Group access column next to the Group access level in the Groups list view. You may use the Sort function to influence the order of the Group’s Products. This can be relevant for e.g. Group Recommendations or Special Purpose Groups defining titles for a slideshow.
- Assets: Add, review and manage Assets in the Group (see below for details). As in the Groups list view, search, filters, sorting and Excel export are available. Actions > Change Group Access also lets you change the Group access to an already included Asset. Furthermore you can use Add Folder to structure the Assets and Actions > Download triggers a download of all selected Assets. You may use the Sort function to influence the order of the Group’s Assets. This can be relevant for e.g. Group Recommendations.
- Users: Add, review and manage Users in the Group (see below for details). As in the Groups list view, search, filters, sorting and Excel export are available. You may use the Sort function to influence the order of the Group’s Users. This can be relevant for any Special Purpose Groups designed to display a User list on the client site, such as on a contact page.
- Organizations: Add, review and manage Organizations in the Group. As in the Groups list view, search, filters, sorting and Excel export are available. You may use the Sort function to influence the order of the Group’s Organizations. This can be relevant for any Special Purpose Groups designed to display an Organization list on the client site, such as a contact page.
- Timeline: Review past activity related to managing the Group.
- You can export lists of a Group’s items by clicking Export in its Products, Assets, Users and Organizations tabs.
- The Actions for All items (of all pages) available in the Group’s tabs will affect all (filtered) items shown, regardless of pagination.
- To schedule an expiry date for a Group, use Actions > Expiry from its General tab, then Add and Save a date and time. For each Group that has an expiry date set, a small clock icon will appear next to the Actions in the Groups list view.
- To delete a Group, either use Actions > Delete button on an individual Group, or tick multiple Groups in the list view before choosing Actions > Selected items > Delete in the top navigation.
- To recover deleted Groups, choose Add Filter > Include Deleted to include deleted Groups in the list view. Then, click Recover in the Actions column for any recoverable Group. Deleted Groups are kept in the system for at least two weeks, but not indefinitely.
- To export Groups data to an Excel spreadsheet, choose Export from the Groups list view. A dialog will open which will allow you to tick the metadata fields to include in the export. Clicking Export will generate a ZIP file of the export which will be sent to your email address.
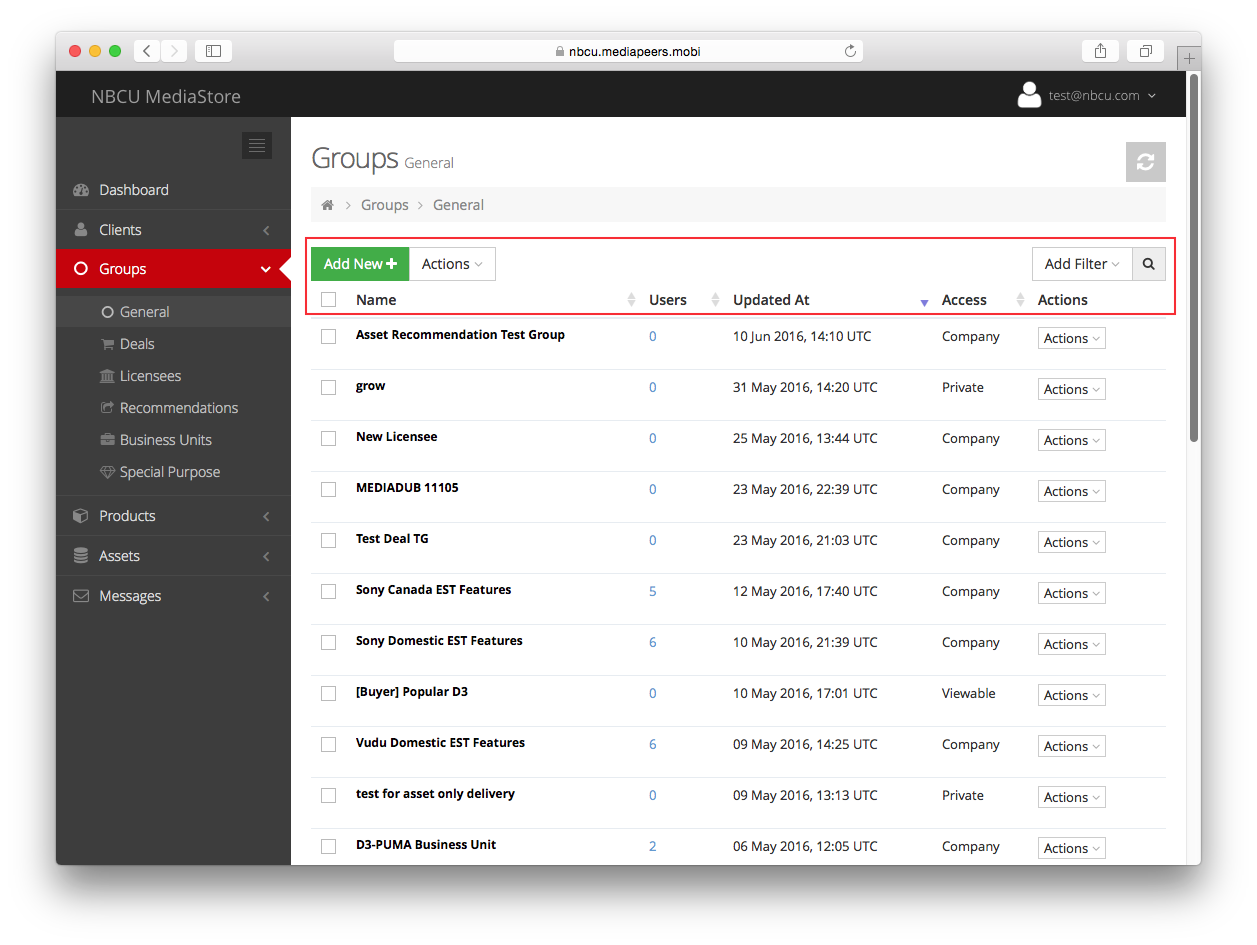
In the Groups sections, various tools let you review and manage Groups
Creating a Group
Go to a Groups subsection and click Add New to create a new Group. After creation, your Group will be empty of Users, Products and Assets; to use it, please populate the Group as needed (see below), and bear in mind that the default Access level is Company.
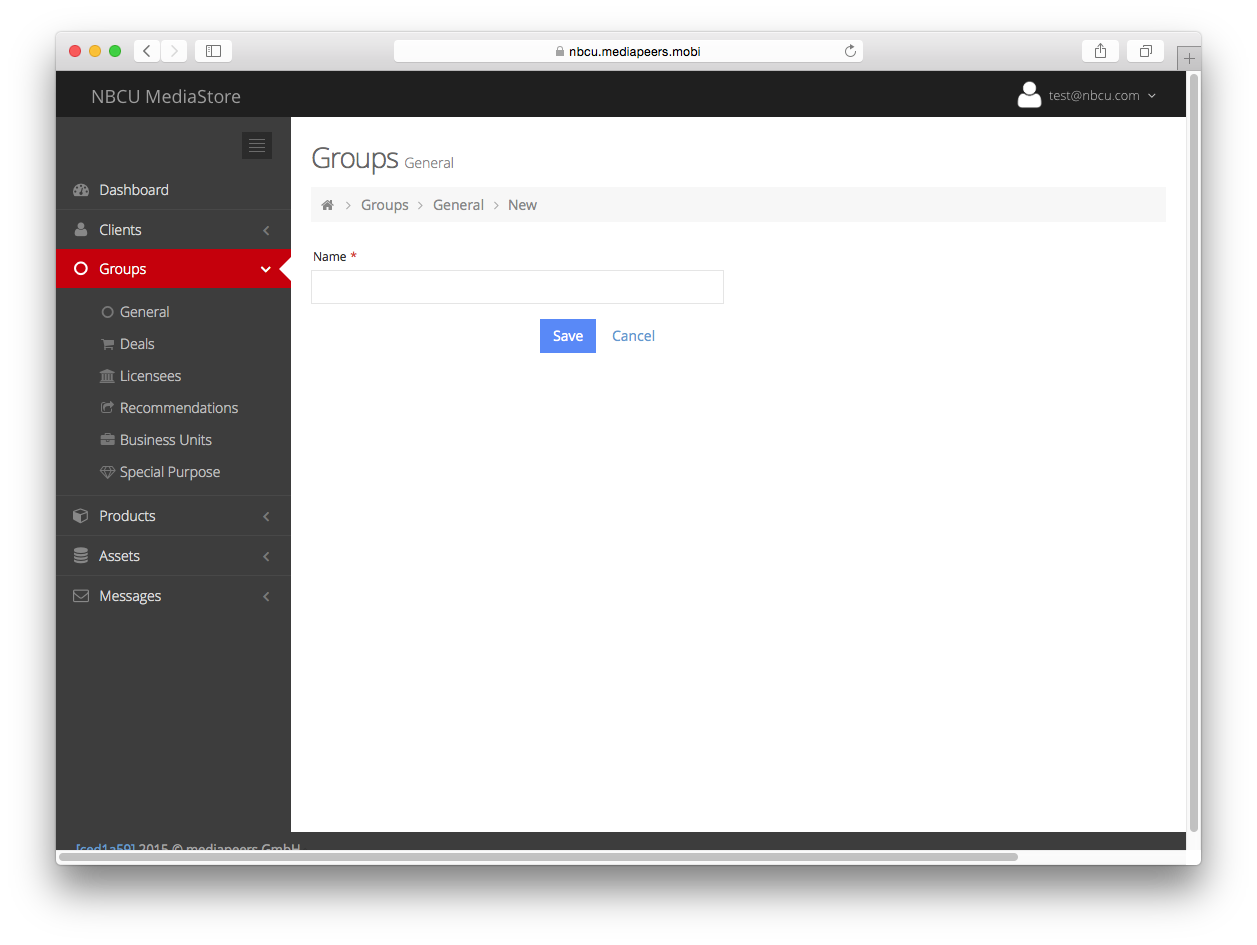
Creating a Group is as easy as choosing a name and saving
Adding Products, Assets, Users and Organizations to a Group
To add a Product to a Group, open the Group’s detail view and click Add in the Products tab:
- Select one or multiple Products. Starting to type will bring up suggestions which you may click in order to include them in the list of Products to be added to the Group.
- You may optionally tick Add product(s) including descendants in order to add all selected Products’ subordinate Products as well.
- Group Access defines the Access level which the selected Product will have to the Group’s members. By default, the Product will be Viewable to Group members regardless of its regular access level.
- Using Apply Access level to assigned Assets, you may automatically include any Assets associated with the Product (e.g. to enable Group members to screen an Unpublished or Private video).
- Click Add to finish.

Various options are available when adding a Product to a Group
To add an Asset to a Group, open the Group’s detail view and click Add in the Assets tab:
- Select an Asset (starting to type will bring up suggestions).
- Group Access defines the Access level which the selected Product will have to the Group’s members. By default, the Product will be Viewable to Group members (i.e. visible but not downloadable) regardless of its regular access level.
- Click Add & Close to finish, or Add & Continue to confirm and directly open a new Add dialog.

To add an Asset, simply select it and choose its Group-wide Access
To add a User to a Group, open the Group’s detail view and click Add in the Users tab:
- Simply select a User (starting to type will bring up suggestions).
- Click Add & Close to finish, or Add & Continue to confirm and directly open a new Add dialog.
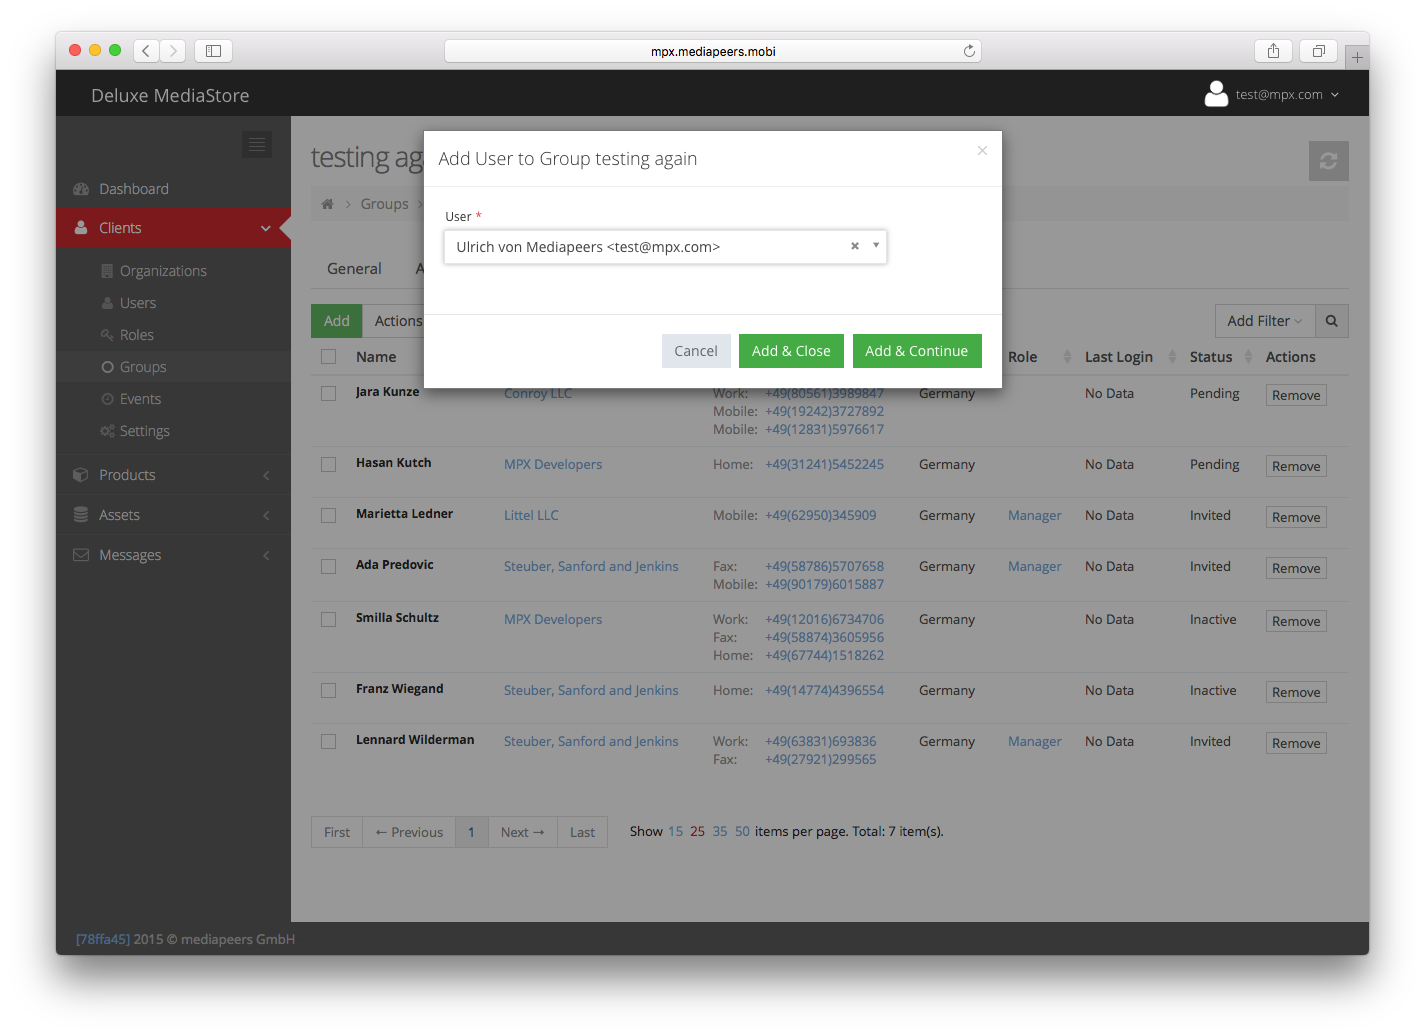
Select a User to add them to the Group
To add an Organization to a Group, open the Group’s detail view and click Add in the Organizations tab:
- Simply select an Organization (starting to type will bring up suggestions).
- Click Add & Close to finish, or Add & Continue to confirm and directly open a new Add dialog.
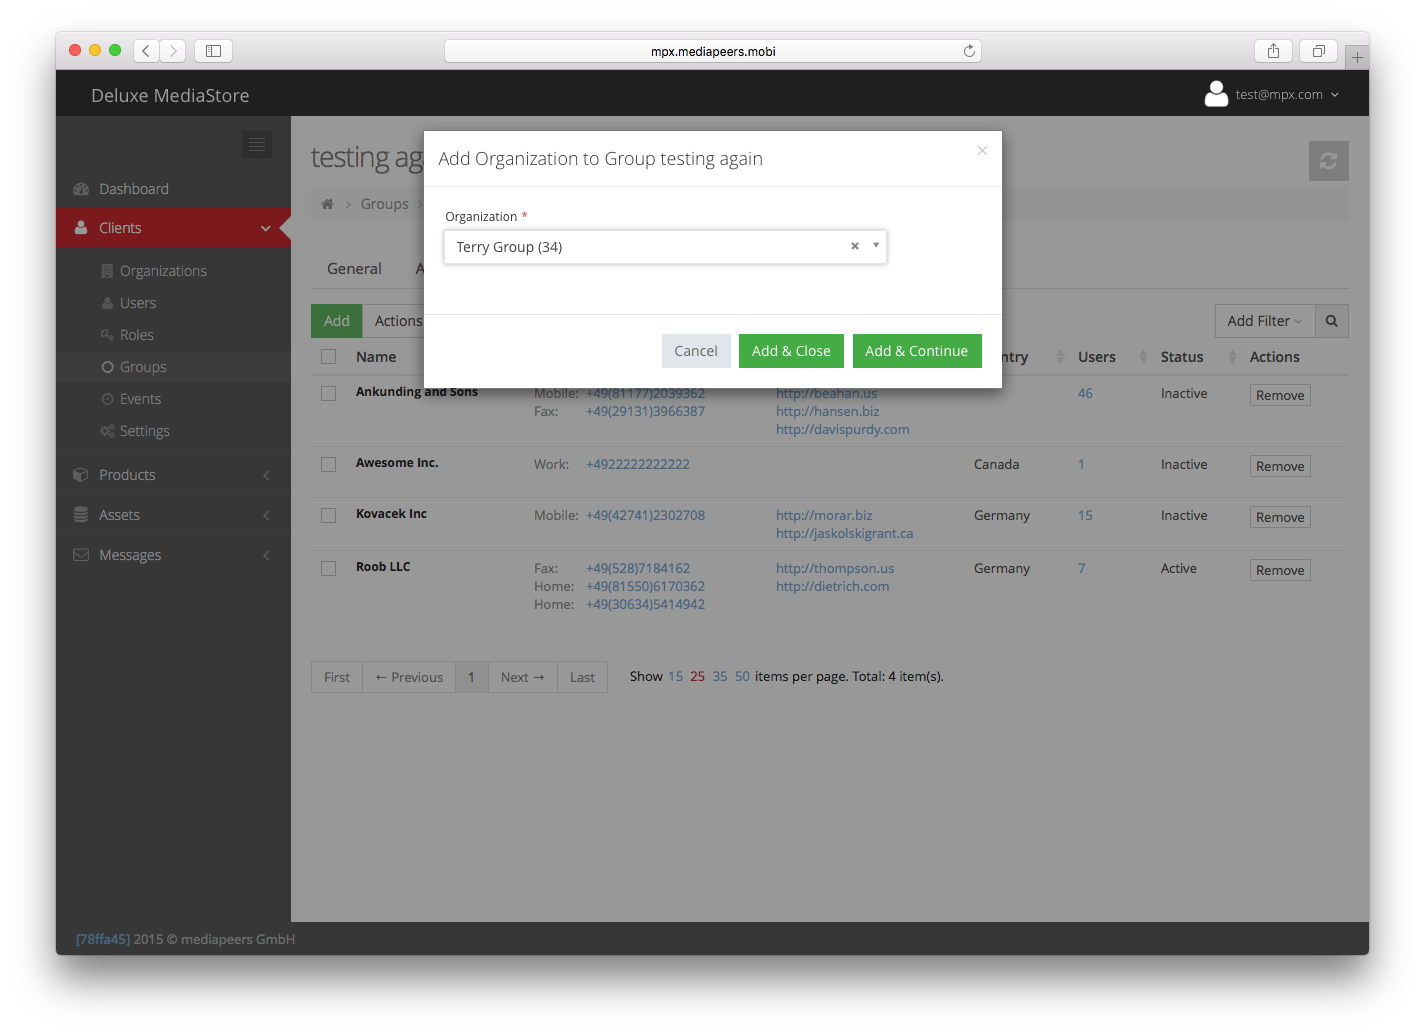
Enter an Organization to add it to the Group