In the Assets section, you will initially be presented with an asset list view. Various interactions are available which let you search and filter for Assets as well as review their Access level, Status and assigned Products.
Please note that the columns you will see in your Assets list view may be different to the ones shown here. Regardless, all data can still be accessed by opening any entry to access its detail view.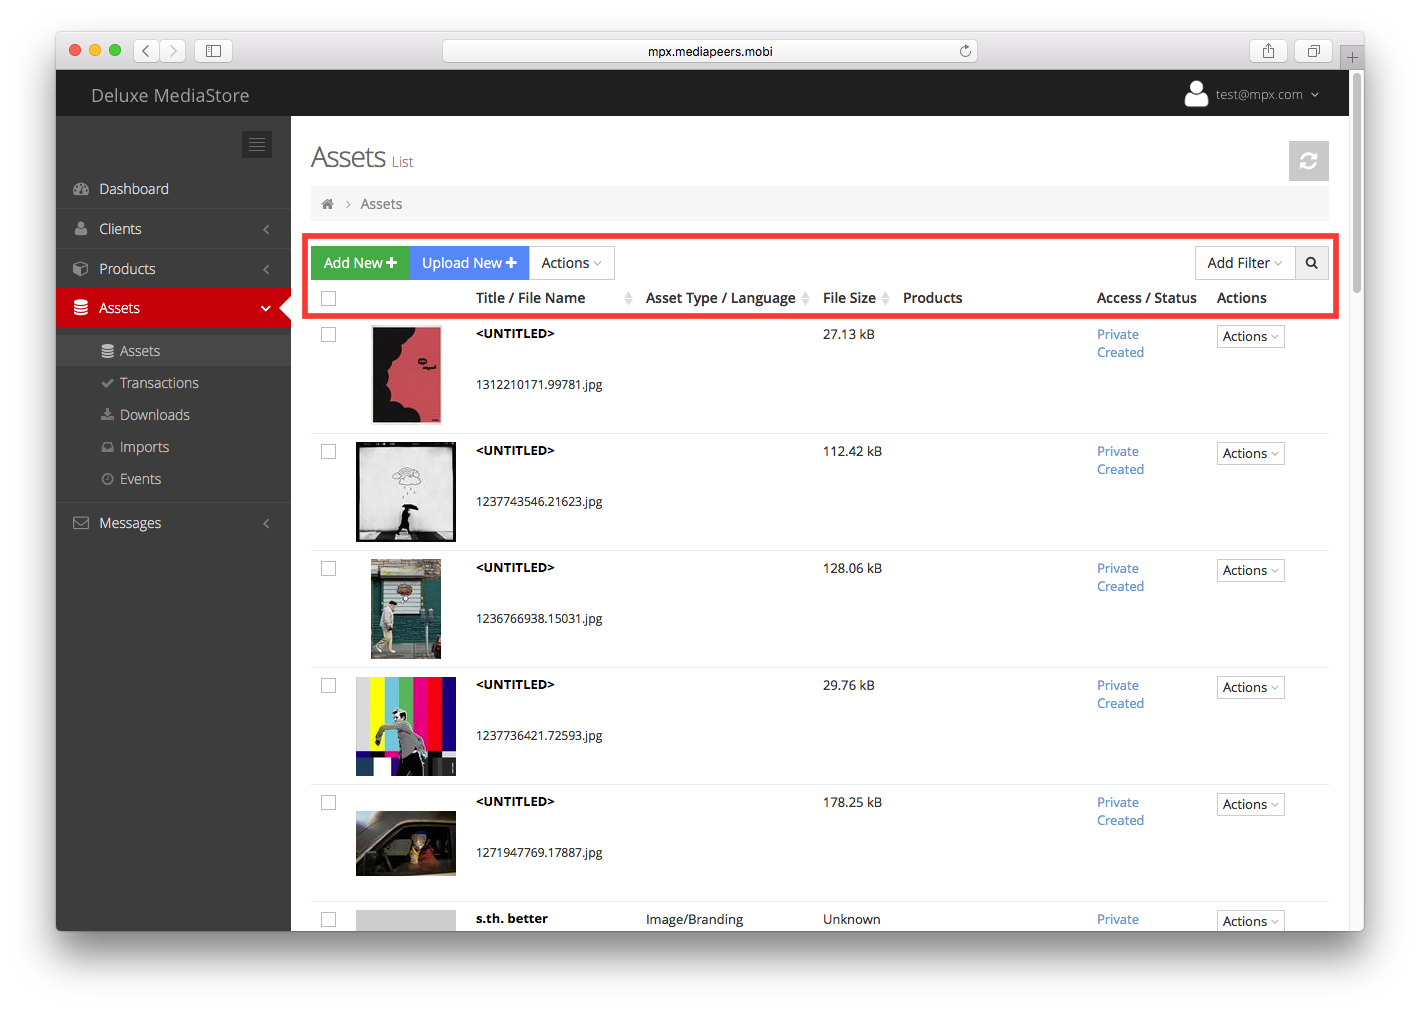
Use the interactions atop the Assets list view to e.g. search or filter
In detail, the following basic viewing and editing functions are available:
- For a summary of Assets, go to Assets; use the column headers to resort the list, and/or the search and Add Filter functions in the top-right corner to narrow down results.
- To view and edit an Asset’s metadata, click its title or thumbnail. In the detail view, click any field to edit its content and move between the various tabs to access all Asset metadata. This includes changing their email address and the Organization they are associated with.
- To edit multiple Assets’ key metadata at once, tick those you’d like to edit, then use Actions > Edit in the top navigation.
- To download an Asset, there are several options:
- Use Actions > Download in the Actions column next to a single asset to download it directly.
- Tick multiple Assets before choosing Actions > Selected items > Download > as ZIP file in the top navigation in order to have the selected assets packaged into a ZIP file which will be delivered to your email address and can be retrieved when you’re logged into your account.
- Tick multiple Assets before choosing Actions > Selected items > Download > via Aspera in order to generate a one-click Aspera download link. Once the delivery has been prepared, you will receive an email including a download link you can use to retrieve the Assets from a temporary Aspera location when you’re logged into your account. Be sure to allow pop-ups in your browser and follow the steps indicated in the pop-up window to install or update the Aspera Connect browser plugin if needed. Note that this option is usually only useful in case you need to retrieve a very large Asset such as a broadcast-quality master file.
- To review the administrative activity associated with a User entry, open its detail view, then move to the Timeline tab. You will be able to review various actions previously performed on the User entry.
- To export Asset data to an Excel spreadsheet, choose Export. A dialog will open which will allow you to select the asset type, language and metadata fields to include in the export. This will generate a ZIP file of the export which will be sent to your email address.
- To add multiple Assets to a group tick the Assets you would like to add from the Asset list and select Actions > Add To Group. This option can also be used to remove multiple Assets from a group.
These Access-related actions are possible:
- To assign an Asset to a Product, either use Actions > Assign in the Actions column, tick multiple Assets before choosing Actions > Selected items > Assign to Product (or Edit) in the top navigation, or open the Asset detail view and use Assign in the Products tab. First, choose the Product; with the Use as Marketing Asset? tickbox you can decide whether the Asset should be used to present the Product on the client site (typically videos and images). Use Assign & Close to finish or Assign & Continue to assign the select Asset(s) to a further Product.
- To unassign an Asset from a Product, either tick it and use Actions > Edit in the top navigation, or open its detail view and use the Unassign Action in the Products tab.
- To change an Asset’s Access level, click its current Access level in the Access / Status column or tick multiple Assets and use Change Access.
- To add an Asset to a Group, either use Actions > Add in the Actions column, tick multiple Assets before choosing Actions > Selected items > Add to Group in the top navigation. Alternatively, open the Asset’s detail view and choose Actions > Add To Group.
- To review the Group access rights associated with an Asset, open its detail view, then navigate to the Access tab. You will be presented with all Groups and Users who currently have privileged Access to the Asset, including options to modify these Access settings. If Group-based access was granted to an entire Organization, its individual Users will not be shown among the Users here.
- To change an Asset’s Status, click its current Status in the Access / Status column.
To make fundamental changes to an Asset or delete it, use these functions:
- To upload an Asset to an empty Asset metadata entry or replace an Asset, open the entry and choose Actions > Upload Asset.
- To change or remove an Asset’s preview image, use Actions > Upload Preview or Delete Preview in the Asset detail view. On video Assets, there is also the function Actions > Extract Image, which allows you to retrieve a new preview image from the video stream. After opening the function, specify the duration (in seconds) from which the new preview image should be taken, then confirm. It will take a short moment to update.
- To clone an Asset, use Actions > Copy in the Asset detail view.
- To delete an Asset, either use Actions > Delete button in the Actions column, or tick multiple Assets before choosing Actions > Selected items > Delete in the top navigation.
- To recover deleted Assets, choose Add Filter > Include Deleted to include deleted Assets in the list view. Then, click Restore in the Actions column for any recoverable Asset. Deleted Assets are kept in the system for at least two weeks, but not indefinitely.
Viewing Asset Analytics
MediaStore’s Analytics capture detailed records of user behavior such as product views, video views (including view duration) and asset downloads. For details, please click here.