Viewing and managing Organizations and Users: introduction
In MediaStore’s Clients section, the Organizations and Users tabs allow you to view and modify all user-related data.
Please note that the columns you will see in your Organizations and Users list views may be different to the ones shown here. Regardless, all data can still be accessed by opening any entry to access its detail view.Viewing and managing Organizations
Go to Clients > Organizations to review all Organizations and perform the following actions:
- For a summary of Organizations, go to Clients > Organizations; use the column headers to resort the list, and/or the search and Add Filter functions in the top-right corner to narrow down results.
- To view and edit an Organization’s metadata, click its name. In the detail view, click any field to edit its content and move between the various tabs to access all Organization metadata.
- To review the Users associated with an Organization, click its name to open the detail view, then move to the Users tab. The list of Users allows you to manage the Organization’s Users (just like the main Users section).
- To delete an Organization, either use the Delete button in the Actions column, or tick multiple Organizations before choosing Actions > Delete in the top navigation. An Organization cannot be deleted as long as it still includes Active Users.
- To recover deleted Organizations, choose Add Filter > Include Deleted to include deleted Organizations in the list view. Then, click Recover in the Actions column for any recoverable Organization. Deleted Organizations are kept in the system for at least two weeks, but not indefinitely.
- To review the administrative activity associated with an Organization entry, click its name to open the detail view, then move to the Timeline tab. You will be able to review various actions previously performed on the Organization entry.
- To export Organizations data to an Excel spreadsheet, choose Export. A dialog will open which will allow you to tick the metadata fields to include in the export (by default, fields to which multiple values may apply are not ticked). Clicking Export will generate a ZIP file of the export which will be sent to your email address.
- To change an Organization’s Access level, edit the Access field in its detail view. Please note that the Access level which was automatically set when the entry was created should usually not be changed.
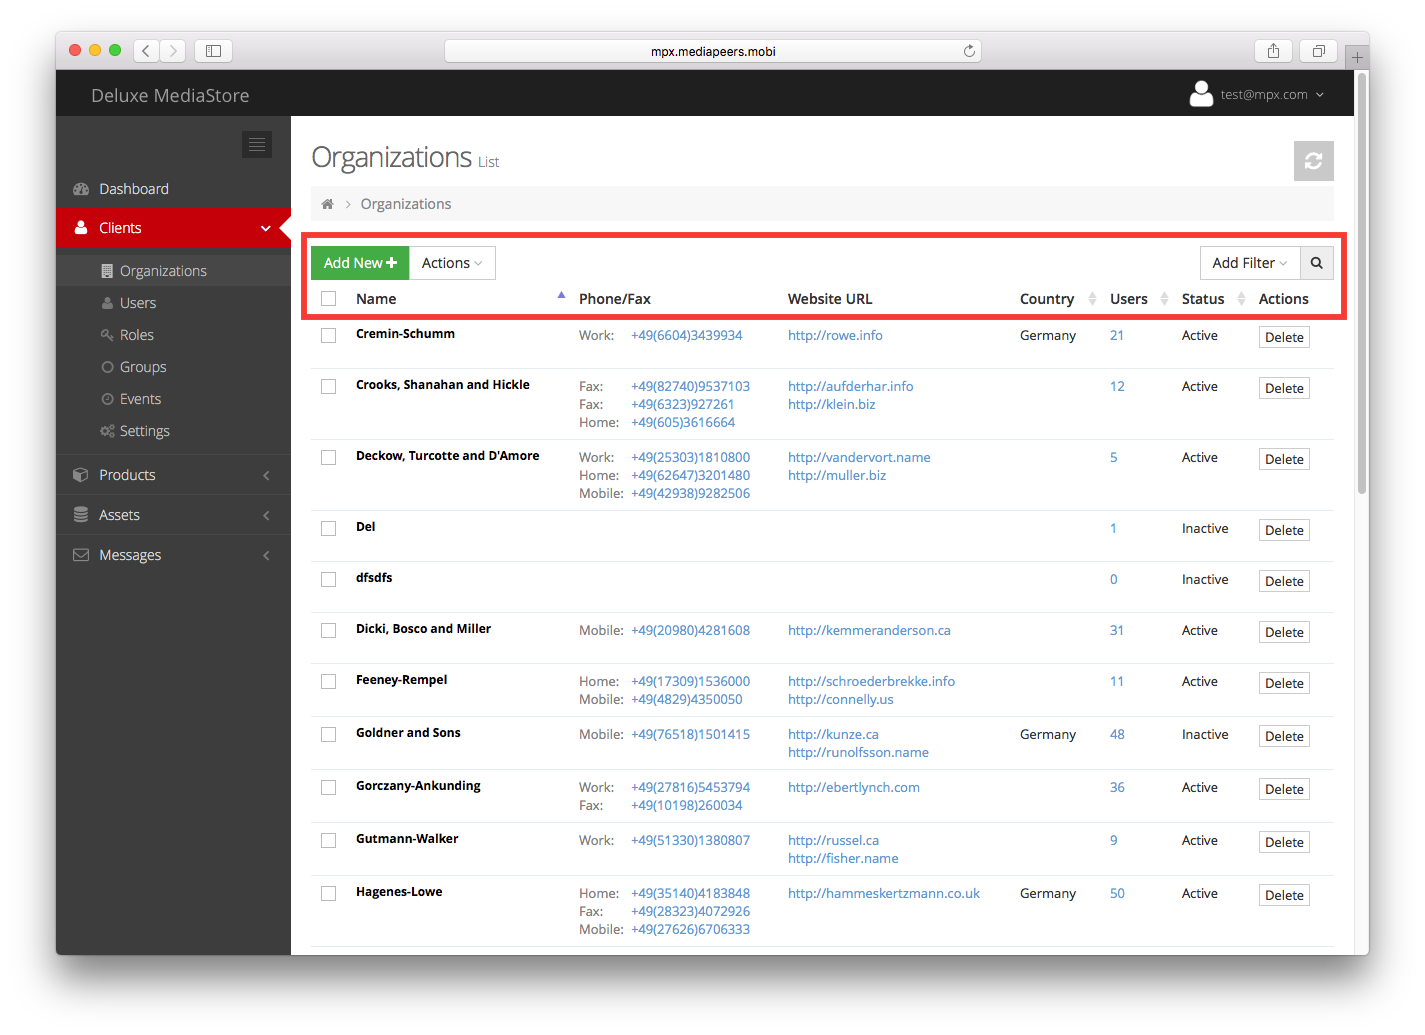
Use the buttons and interactions at the top of the Organizations list view to manage data
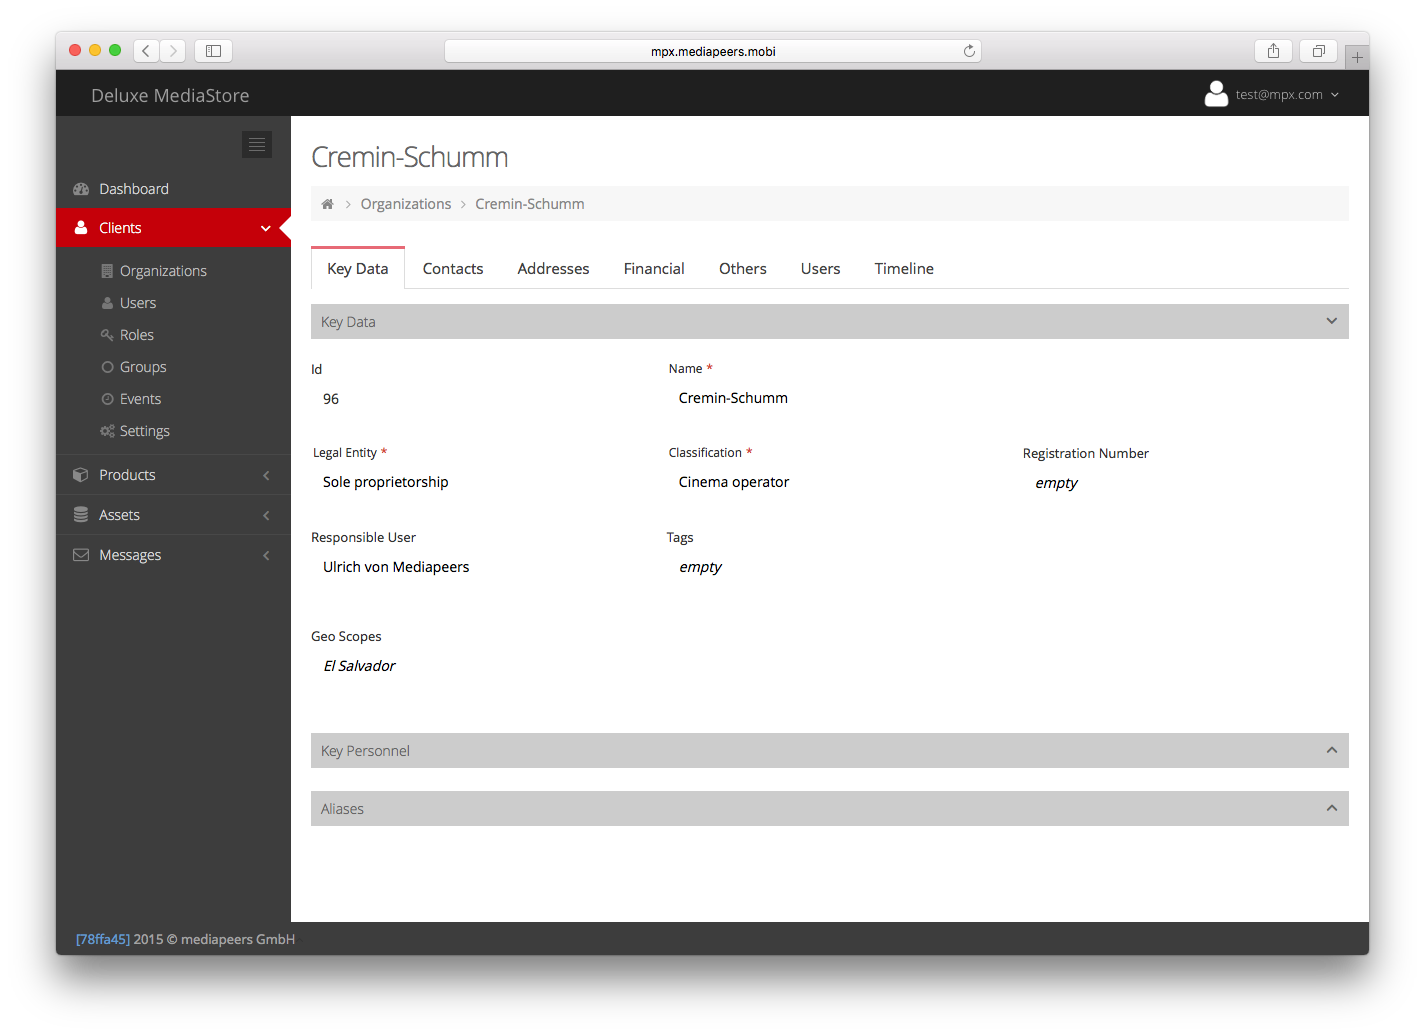
The Organization detail view lets you review and change its metadata
Viewing and managing Users
Go to Clients > Organizations to review all Users and perform the following actions:
- For a summary of Organizations, go to Clients > Organizations; use the column headers to resort the list, and/or the search and Add Filter functions in the top-right corner to narrow down results.
- To view and edit a User’s metadata, click their name. In the detail view, click any field to edit its content and move between the various tabs to access all User metadata. This includes changing their email address and the Organization they are associated with.
- To review the privileged Group Access rights granted to a User, click their name to open the detail view, then navigate to the Access tab. You will be presented with all their special Access rights organized by either Group, Products or Assets. If Group-based access was granted to an entire Organization including the User you’re reviewing, the Organization-level Group access rights will not be shown here.
- For information on how to invite and process Pending users (Approve, Reject, Invite), please go here.
- To block a User and thereby revoke their access to the platform (while still retaining the User entry), use Actions > Block. You may also Unblock a blocked User.
- To delete a User, either use Actions > Delete button in the Actions column, or tick multiple Organizations before choosing Actions > Delete in the top navigation.
- To recover deleted Users, choose Add Filter > Include Deleted to include deleted Users in the list view. Then, click Recover in the Actions column for any recoverable User. Deleted Users are kept in the system for at least two weeks, but not indefinitely.
- To review the administrative activity associated with a User entry, click their name to open the detail view, then move to the Timeline tab. You will be able to review various actions previously performed on the User entry.
- To export User data to an Excel spreadsheet, choose Export. A dialog will open which will allow you to tick the metadata fields to include in the export (by default, fields to which multiple values may apply are not ticked). Clicking Export will generate a ZIP file of the export which will be sent to your email address.
- Choosing Actions > Email will open a blank email message to the User in your email software.
- To change a User’s Access level, edit the Access field in its detail view. Please note that the Access level which was automatically set when the entry was created should usually not be changed.
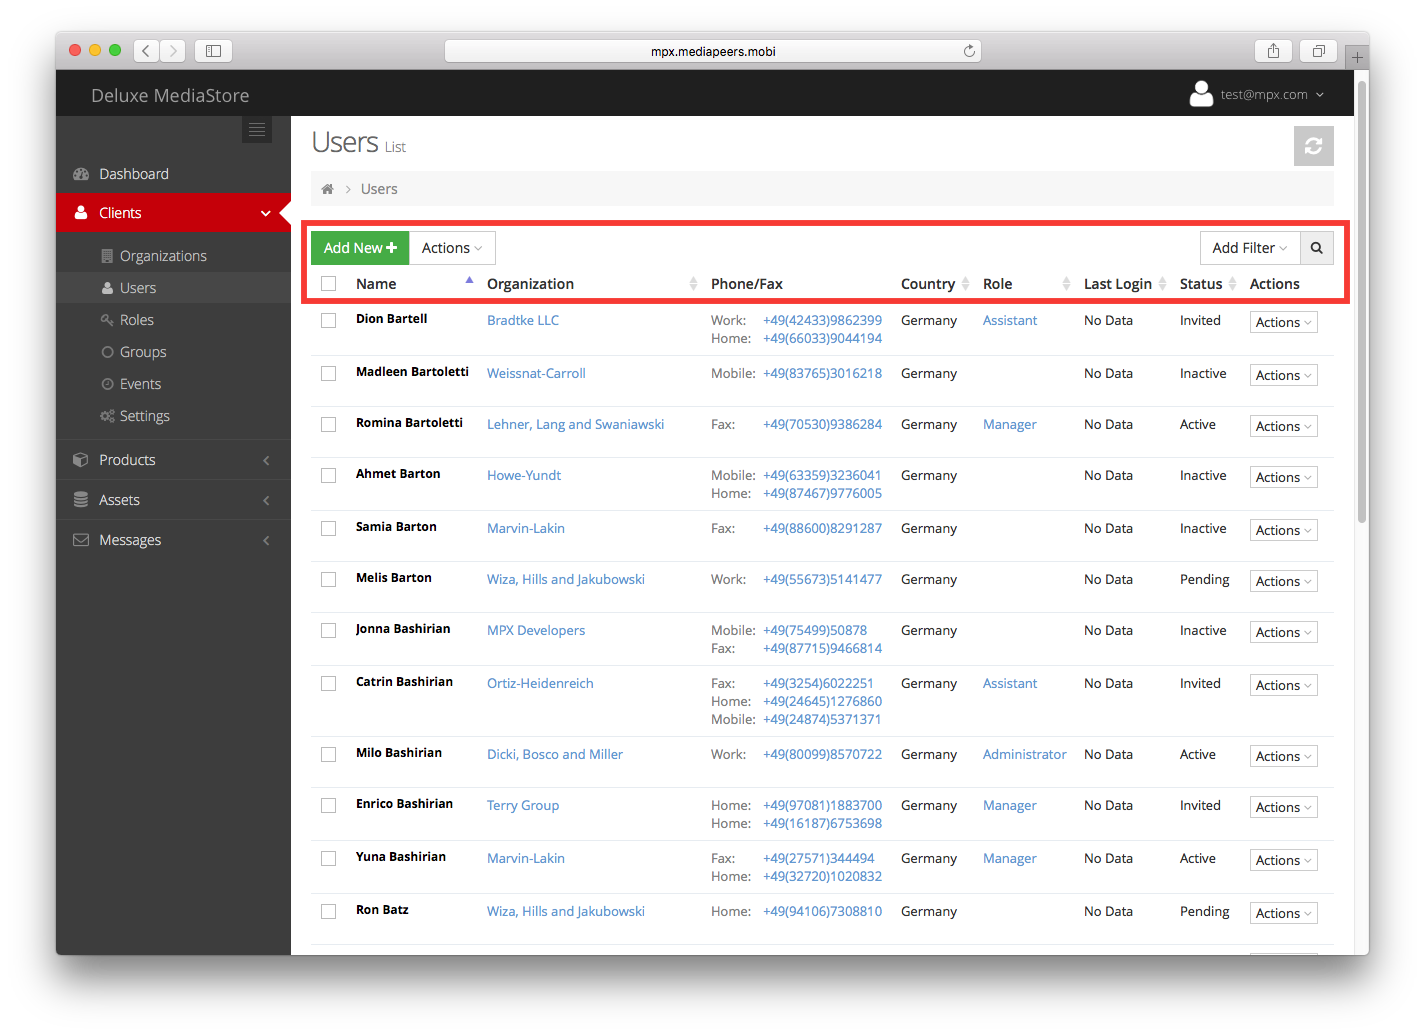
Use the buttons and interactions at the top of the Users list view to manage data

The Organization detail view lets you review and change its metadata
Viewing User Analytics
MediaStore’s Analytics capture detailed records of user behavior such as logins, product views and video views (including view duration). For details, please click here.