The Aspera Inbox lets you upload files via Aspera
MediaStore’s built-in Aspera Inbox leverages a dedicated Aspera account linked exclusively to your MediaStore platform in order to provide Aspera’s reliable high-speed FASP uploads for Assets to be ingested into MediaStore. This process may be useful especially if high volumes of files or very large files are meant to be uploaded, or when your internet connection is unstable or slow.
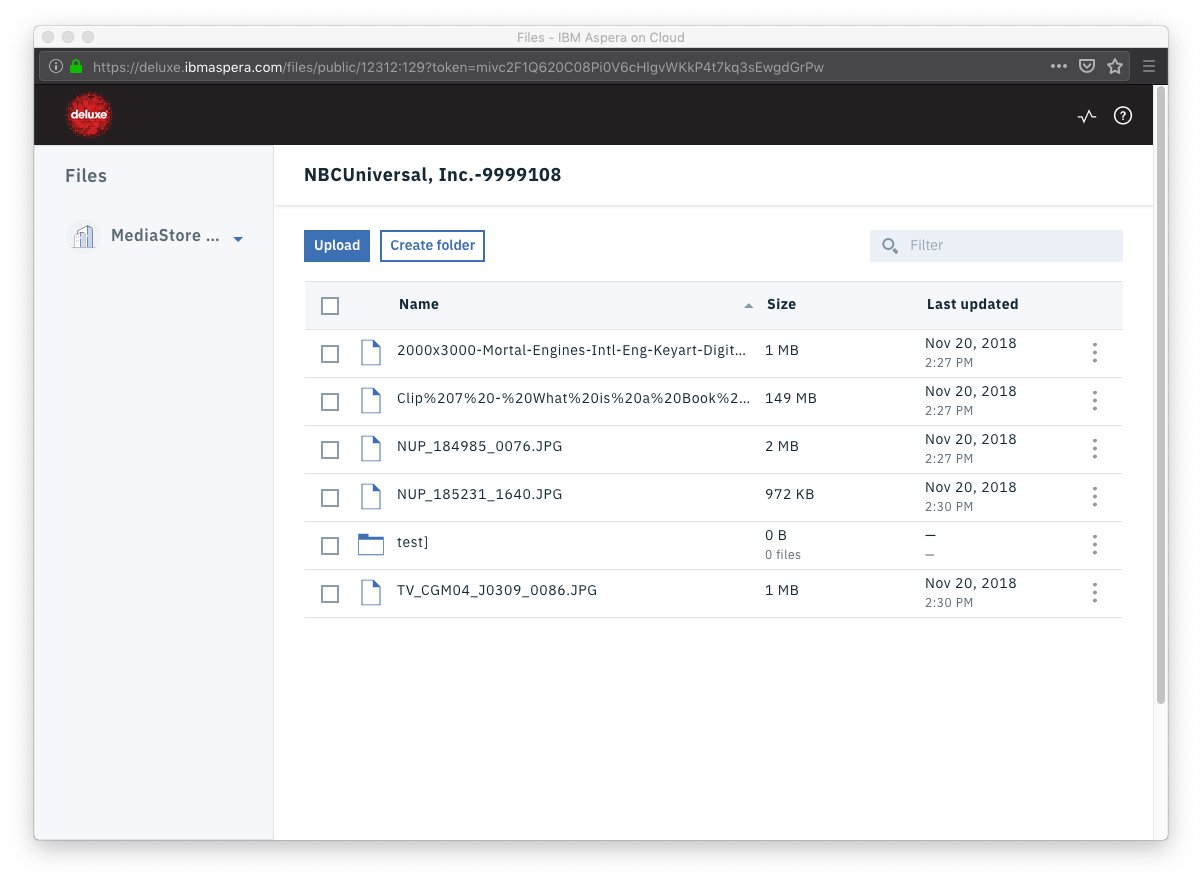
The process works by providing a temporary file “inbox” to which files can be uploaded. From there, you can manually trigger an ingest of any of these files into your MediaStore platform.
Here’s how to use the Aspera Inbox:
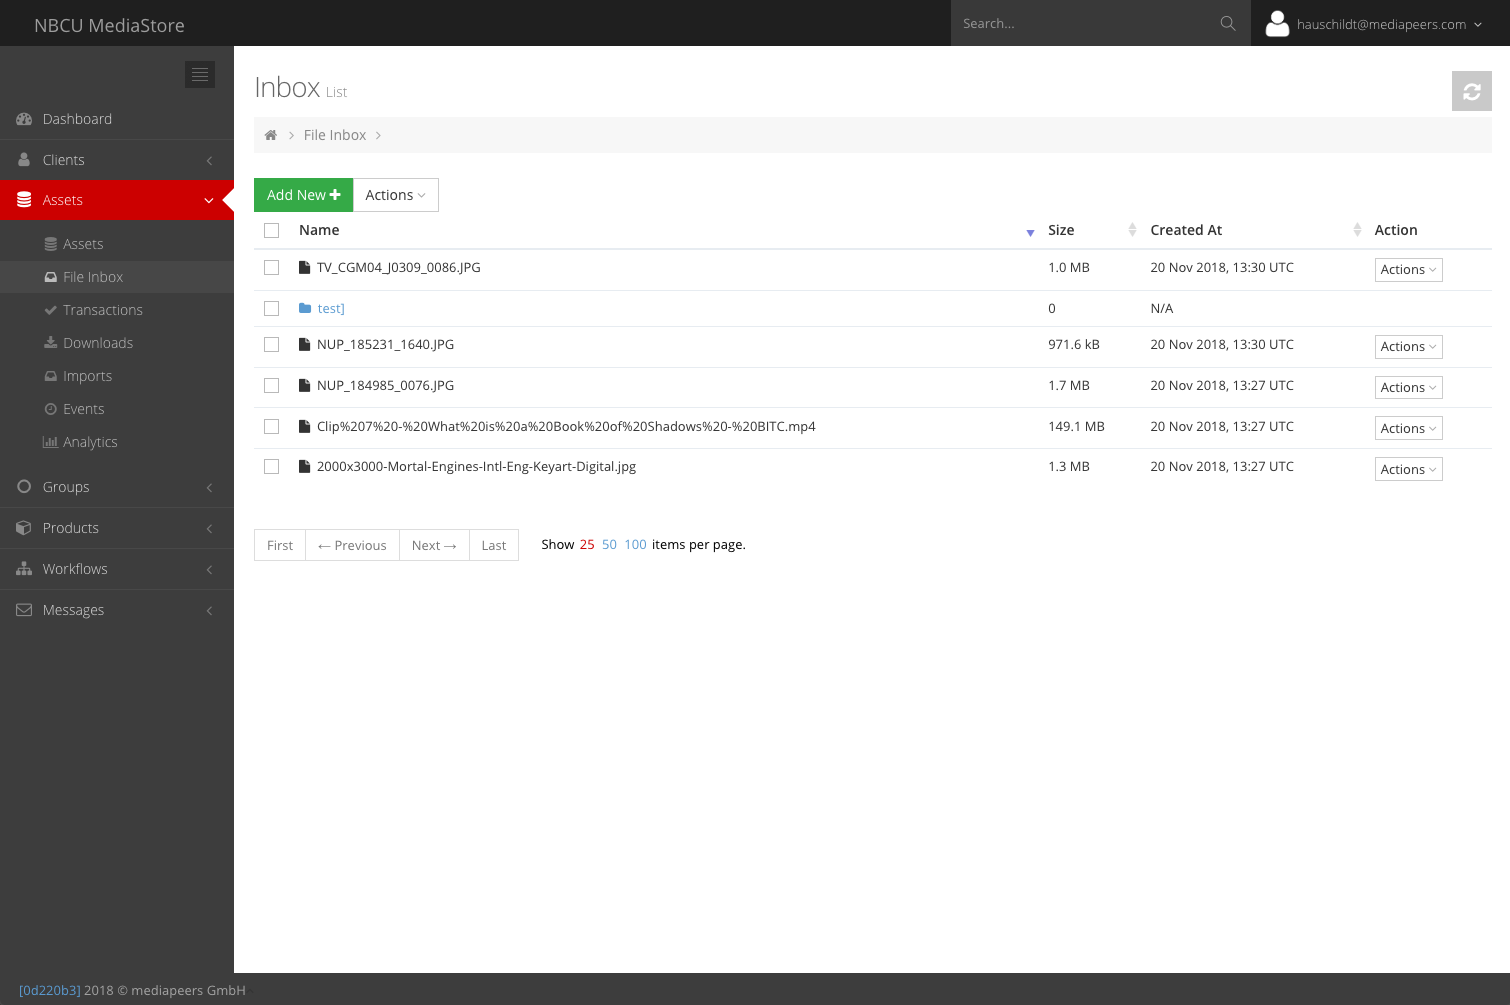
- Go to Assets > File Inbox.
- Click Add New to open the Aspera pop-up window. You may need to allow your browser to open it.
- If the Aspera Connect browser plugin is not installed on your computer, you will be prompted to do. Please follow the steps indicated by the installation wizard.
- In the Aspera pop-up window, click Upload. You may now select one or multiple files to be uploaded into the Aspera Inbox.
- After confirmation, the Aspera Connect upload window will display your upload progress.
- Repeat steps 4 and 5 as many times as necessary in order to upload all required files.
- Once upload has completed, close both the Aspera Connect upload window and the Aspera pop-up window.
- Back in the Assets > File Inbox view, refresh the page to show all files currently in the Aspera Inbox.
- Tick all files to be ingested and choose Actions > Ingest.
- You will be presented with a metadata entry window offering the same metadata definition options as the regular file upload does.
- Go to the main Assets list view to review the new Assets and their ingest status, just like with regular uploads.
Note that files will automatically be removed from the Aspera Inbox after successful ingest.
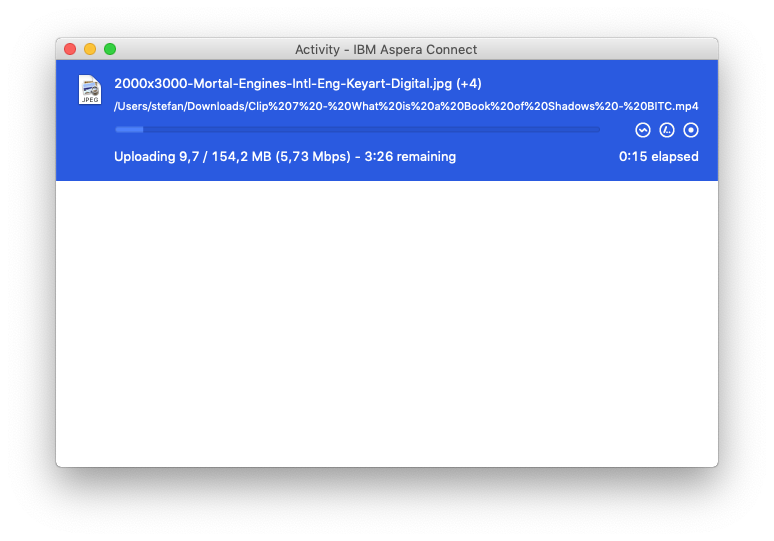
The Aspera Connect uploader will show the upload status
Click Upload to upload new files